As a lifelong fan of games that mix the charm of Animal Crossing with the epic exploration of The Legend of Zelda, I was instantly drawn to Fantasy Life i: The Girl Who Steals Time when I picked it up in early 2025. From the moment I stepped into Ginormosia, I felt that familiar thrill—like the first time I scaled a tower in Breath of the Wild. The Googlancia Towers here aren't just map revealers; they're my lifelines for fast travel, turning what could be a tedious trek into an exhilarating adventure. But finding all of them? That's where the real fun and frustration began, and I can't wait to share my personal highs and lows with you. There's something magical about uncovering these structures, especially when you're doing it solo, with only your wits and the wind as companions—I often found myself grinning like a kid on a treasure hunt, even when I got hopelessly lost.
Starting out, the game holds your hand a bit by unlocking the first Googlancia Tower in West Dryridge Desert through story progression. Honestly, this felt like a warm hug—I didn't have to sweat it, and it became my go-to spot whenever I returned to Ginormosia. But that ease faded fast when I ventured west for the next one. The East Dryridge Desert tower was shrouded in fog on the map, and I remember stumbling around like a lost puppy. I hugged the northern bay, avoiding those towering cliffs that seemed to mock my climbing skills. It was a relief to find it without scaling anything major; I even paused to admire the desert sunset, feeling a rush of accomplishment that made all the aimless wandering worth it.
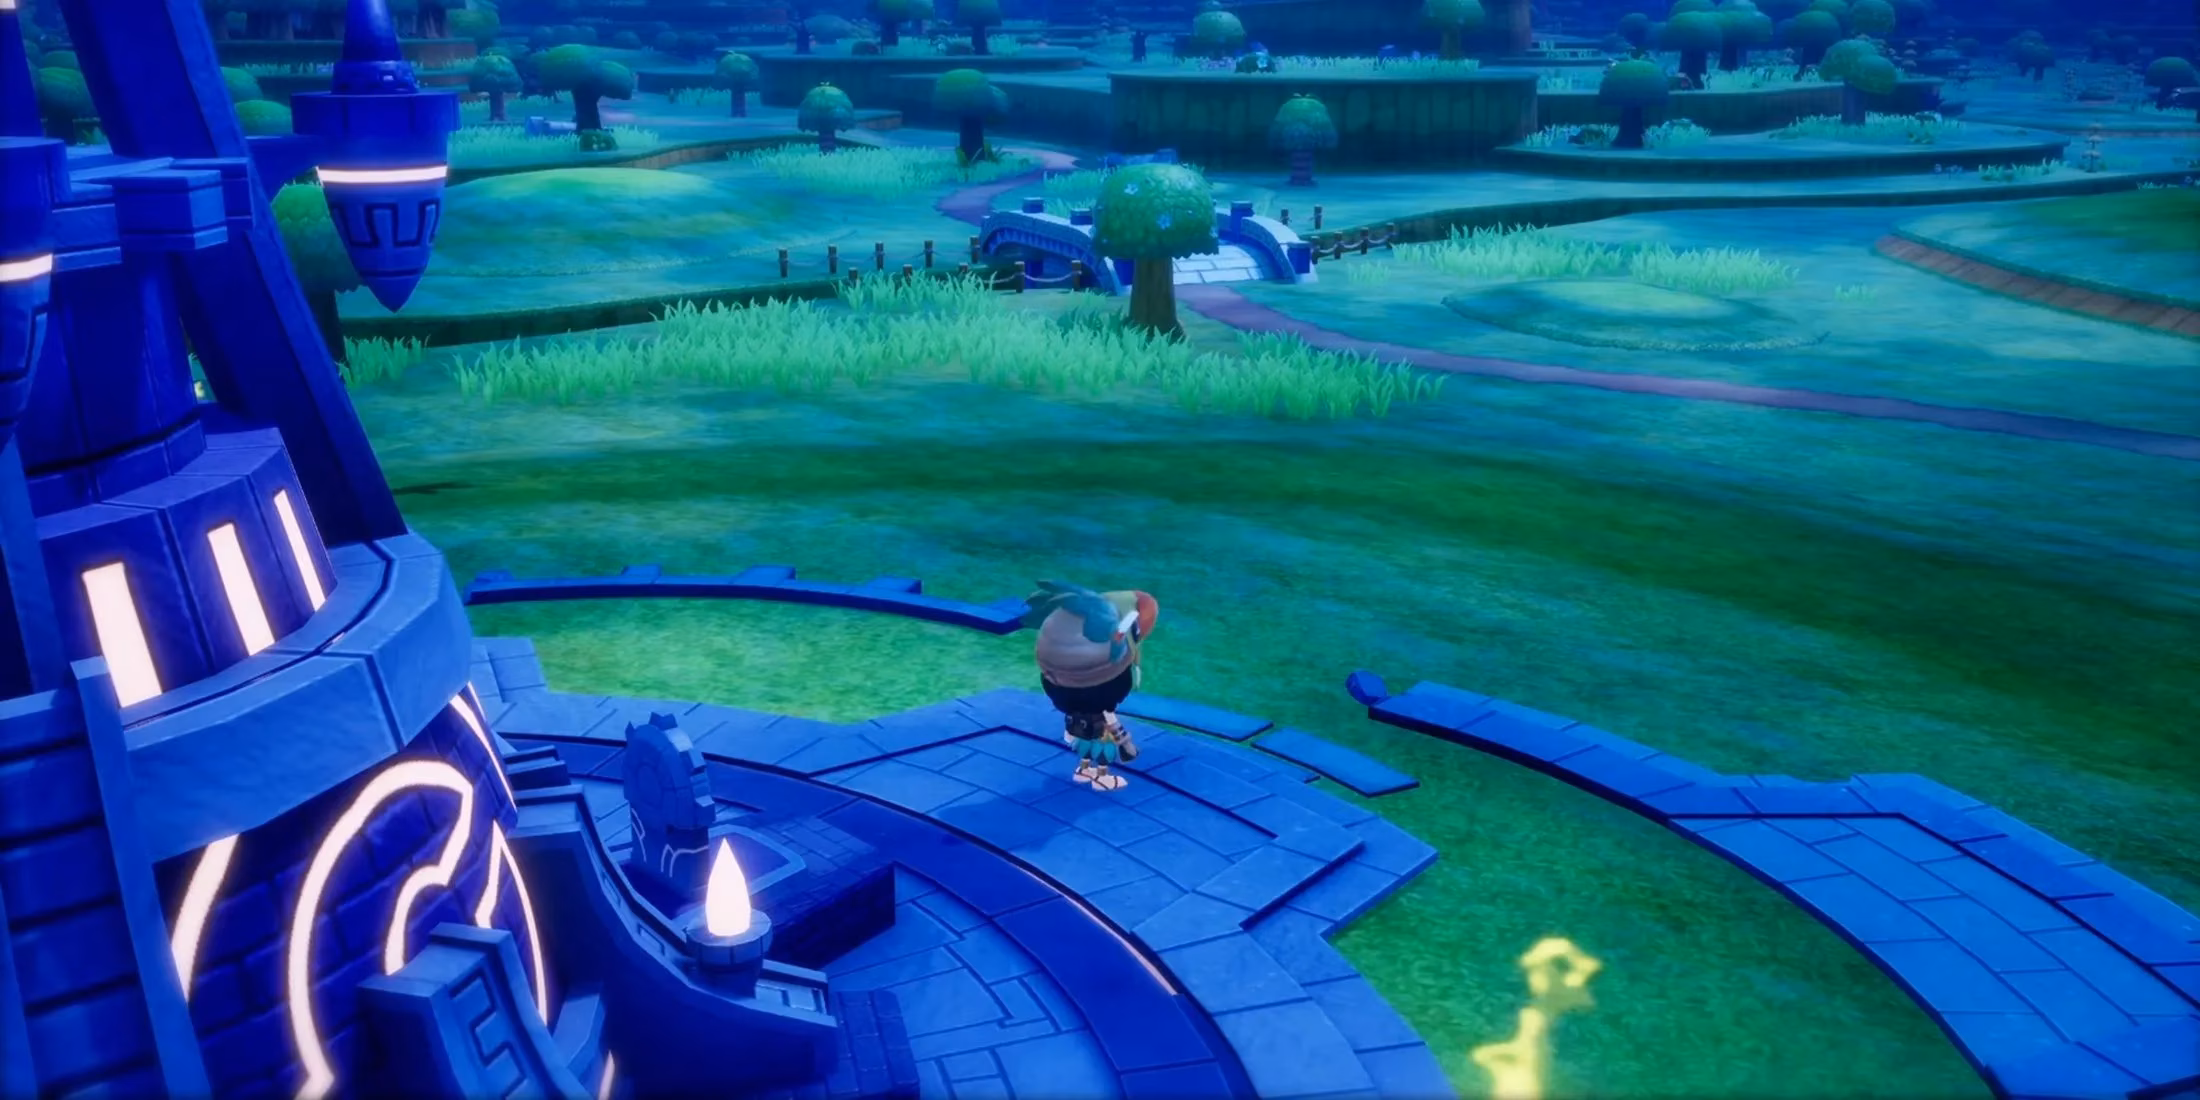
Moving north to Viridia Plateau, I hit my first real challenge. The tower sits right on the border between the eastern desert and western grasslands—a spot that's deceptively tricky to pin down. 🌄 One minute I was trudging through sand, the next I was in lush fields, and I swear I circled the area three times before spotting that beacon. My heart raced when I finally activated it; the view was stunning, offering a panorama that made me appreciate how the game blends biomes so seamlessly. It's moments like these that remind me why I love open-world RPGs—they reward patience with pure beauty.
From there, I zipped west to South Greatgut, and wow, was this straightforward! A straight shot from Viridia's tower landed me almost dead center in the region. I recall feeling smug, thinking I'd cracked the code... until West Greatgut threw a curveball. Heading northeast from South Greatgut, I crossed a gurgling river that signaled I was close. The tower overlooks the water, and I couldn't resist snapping a virtual photo—it felt like a serene oasis in the chaos. But then came East Greatgut: moving north from West Greatgut's spot, I navigated between a water pool and a river, my anxiety spiking as I worried about missing it. Spotting it against the horizon was pure euphoria, like solving a puzzle I'd overcomplicated.
Pettling Wood tested my sanity. 😤 Dense forests blocked the direct path from East Greatgut, forcing me to circle around like a maze runner. I grumbled under my breath as I followed the gravel road, but it paid off—the tower emerged like a hidden gem. And that secret shrine in the northwestern woods? It added a layer of mystery I adore, with a puzzle that had me scratching my head for a good ten minutes. This game excels at rewarding curiosity, and I felt a surge of pride when I unlocked it.
Shroomhaven and Wingtip Valley were all about swimming adventures. From Pettling Wood, I dove into the ocean, swimming northeast to Shroomhaven's bay. Clambering up desert cliffs to find the tower felt like a mini-epic, with the salt spray and distant calls making it immersive. Then, swimming northwest to Wingtip Valley, I was disappointed I couldn't see the tower from afar—those cliffs hid it well, and I almost gave up before spotting it. The isolation there was hauntingly beautiful, making me feel like an explorer charting unknown lands.
For Moltana, I fast-traveled to East Greatgut and traced the river north. Climbing desert cliffs, I braced for tough enemies, but the real danger was my own impatience. The tower appeared easily, and I took a detour to that volcanic mountain—what a view! Despite lava rivers and high-level foes, reaching the peak was a highlight, offering vistas that made me gasp. Scorchrock Mountain was a breeze in comparison; just northeast from Moltana, it sits low in a grass field, and I found it almost by accident while chasing butterflies. That serendipity is what makes Fantasy Life i so endearing.
Crickneck Canyon required another swim south from Scorchrock. The swim was refreshing, but climbing cliffs southwest from the bay had me tense—I kept expecting a boss battle, but it was smooth sailing. Then, west to Drakeseye Valley: a straight shot through varied terrain ended at deserted cliffs near the ocean. I loved how the environment shifted, with the cliffs making me feel tiny against the vastness. Drakesnout Range was trickier; following the southernmost river from Drakeseye, I scaled trees to spot the tower. The effort felt heroic, and the reveal was worth every misstep.
Finally, Fangshore Isles felt like the perfect finale. From Drakesnout, I gazed east and spotted the tower on the biggest island's southwest corner. Sailing over, I was struck by how gorgeous it was—the turquoise waters and lush isles made it the prettiest spot in Ginormosia. Unlocking it gave me a sense of closure, but it's not the end. As of 2025, these towers don't auto-mark everything; you still need to hunt for shrines, leaves, and bosses to boost your Area Rank. I've spent hours doing just that, and it's addictive—leveling up spawns tougher enemies, making the world feel alive and evolving.
Reflecting on my journey, I'm amazed at how this game balances challenge with charm. Each tower discovery brought its own emotion—frustration, joy, wonder—and now I want you to experience it too. So, grab your copy of Fantasy Life i, start exploring, and share your own tower tales with me!
Leave a Reply
Comments